How to Build a Cheap Raised Garden Bed
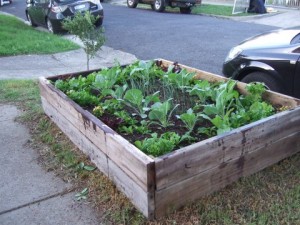
I’ve been advancing my guerilla gardening efforts recently, with a significant new raised bed now beautifying my nature strip, as seen in the featured picture. I thought in this post I could provide a brief overview of how to build a cheap raised bed, either for use on your nature strip or in your front or backyards. This overview might seem a bit basic for the handy builders among you, so I direct this post to those who are beginning their journey into guerilla gardening and urban agriculture. I was moved to write this post after attending an environmental festival recently where raised beds like the one I have built were priced between $800 and $1000! Mine cost considerably less than $100, including the soil and plants, and that’ll pay for itself soon enough. I also earned the joy of construction, making me doubly well off. Below I describe the method for building a raised garden bed two boards high, which provides good depth.
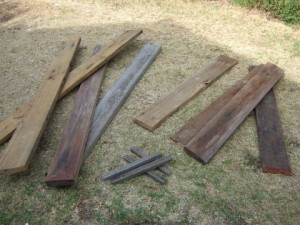
First thing you need to get is wood. You should aim for untreated hardwood or railway sleepers. Don’t buy wood brand new – it’s too expensive. In any case, it’s better to recycle, so find yourself a salvage yard. In Melbourne, secondhand hardwood boards can be sourced from between $3 or $4 a metre. Do the math and work out how much wood you need – not just the boards, but also a stake that can be used to attach the boards together (see below). Cut to size.
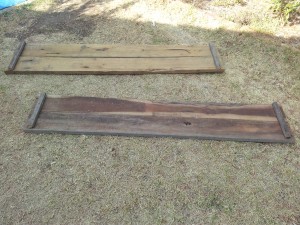
I then use the small stakes to join the side boards together.
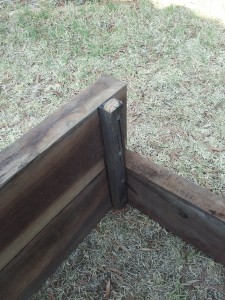
In situ, attach the end boards to the sideboards, as seen below.
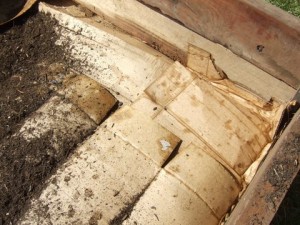
Then soak lots of newspaper and cardboard in water and then lay it in bottom of the garden bed. This keeps weeds and grass at bay.
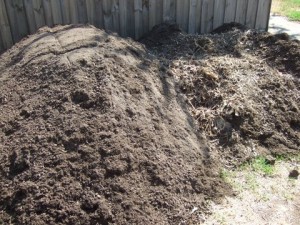
A raised bed this size will require a fair amount of soil, and I ordered some in (to supplement backyard too). For Melbournians, I highly recommend Bulleen Art and Garden for great soil. Don’t skimp on soil. The cheapest stuff can be more sand than soil, which is no good for growing food. Soil is the foundation of a flourishing garden.
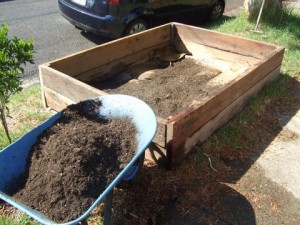
Start filling your bed with soil.
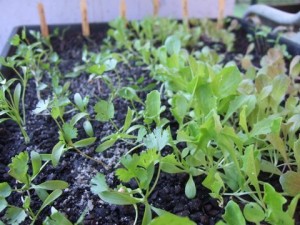
If you can get organised enough, grow your own seedlings rather than buying them. You’ll save lots of money.
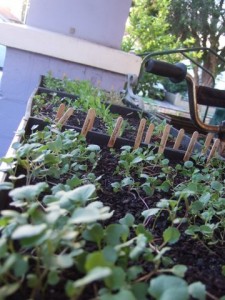
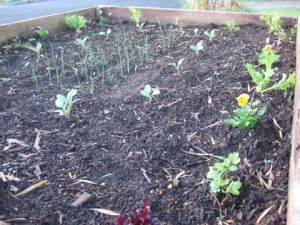
Time to plant the bed up!
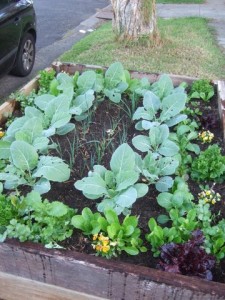
And in a month or so it will look like this. (Note mandarin tree at the end which I planted a year or so ago.)
Tell me that isn’t a beautiful nature strip! I dream of a day when every nature strip in suburbia looks like this (See Entropia: Life Beyond Industrial Civilisation, for one vision of a ‘simple living’ utopia).
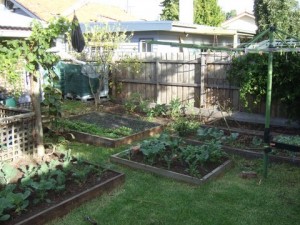
Obviously, the same building method works just as well in the backyard/front yard.
For Australians, please see the competition being run by Reclaim the Curb, offering good prize money for the best curb-side garden!


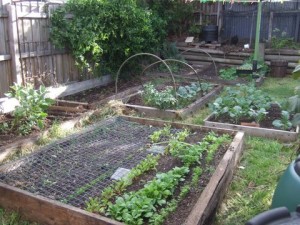


How come mine doesn’t look like that ?!?!
Very impressive.
I don’t see why you didn’t take the bed out to the edges of the planting strip?
Now you have what looks like a 6 inch strip of grass you have to mow on both sides!
Why build in maintenance?
I suppose I could have – it’s always good to think about minimising maintenance – but my thoughts at the time we toward the many children who use the path as a cycle path. I didn’t want to encroach upon their space.
Thanks for the post. Just wondering where you sourced the hardwood boards.
From the local salvage yard… on Newlands Road in my case.
[…] involved: Moreland council’s page on planting your nature strip Moreland Food Gardens Network The Simplicity Collective how-to on building your own roadside raised vegetable bed Take action, win a prize with reclaimthecurb Taking it a step in a good direction are the people at […]